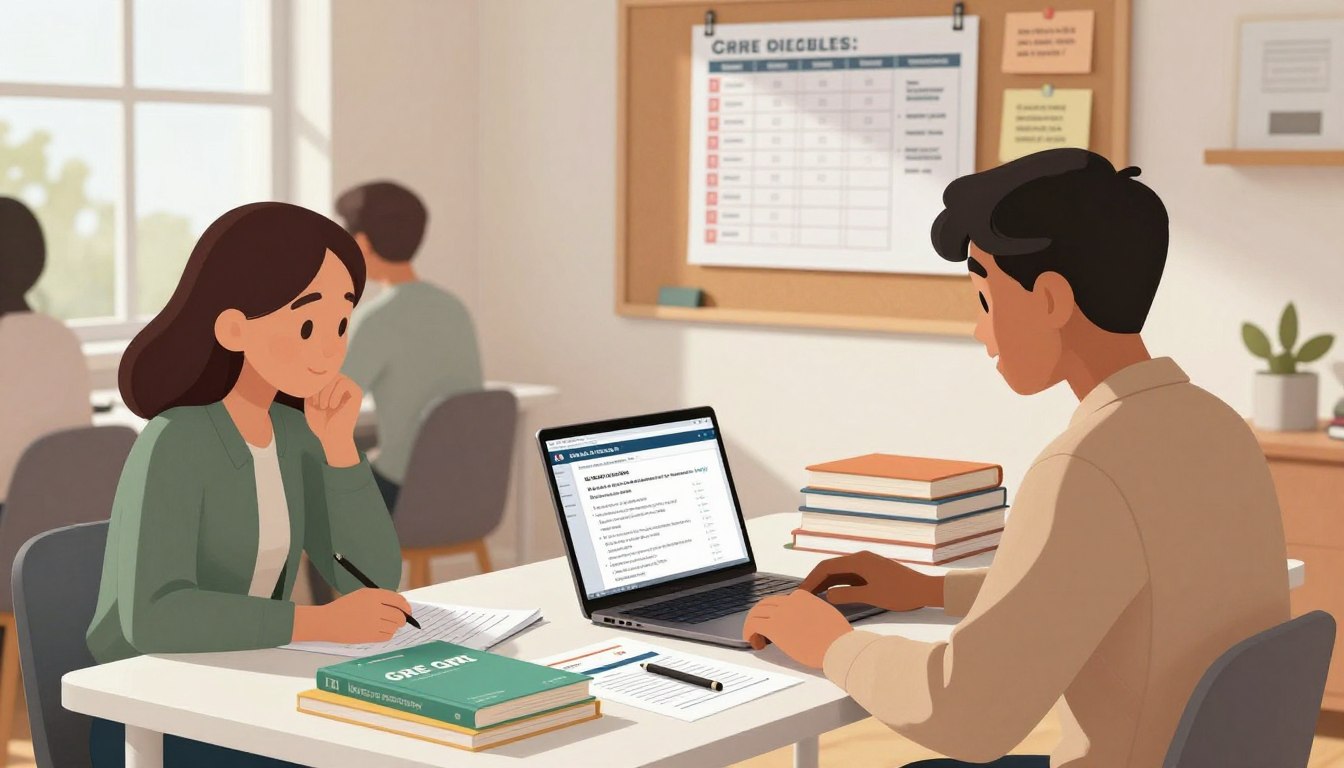
Preparing for a remote exam involves more than just reviewing academic material. Many candidates focus solely on practice questions while overlooking the practical challenges of taking the GRE at home.
Understanding the rigorous monitoring procedures is crucial to your success. You must carefully manage your testing environment to avoid accidental disqualification during the exam.
Taking a high-stakes exam in a familiar setting can still be unexpectedly stressful. Employing effective GRE test-day strategies can help you stay focused and calm throughout the process.
If the technical requirements or the pressure of the assessment feel overwhelming, consider hiring a professional expert through Testhelper. Our platform provides the support you need to face the upcoming challenge with confidence and thorough preparation.
Summary of Key Points
- Ensure a stable internet connection and choose a quiet, private room for the assessment.
- Familiarize yourself with the strict proctoring rules to avoid disqualification.
- Manage your stress levels by practicing mindfulness techniques before the course begins.
- Utilize professional resources to help organize your study schedule and technical setup.
- Be sure to carefully check device compatibility to ensure smooth operation.
What is the actual experience of taking the GRE exam at home like?
The convenience of taking the exam at home is undeniable, yet the experience differs significantly from taking it at a traditional test center. Opting for the online GRE exam means you are responsible for your own testing environment, so careful preparation is essential to ensure the exam proceeds smoothly.
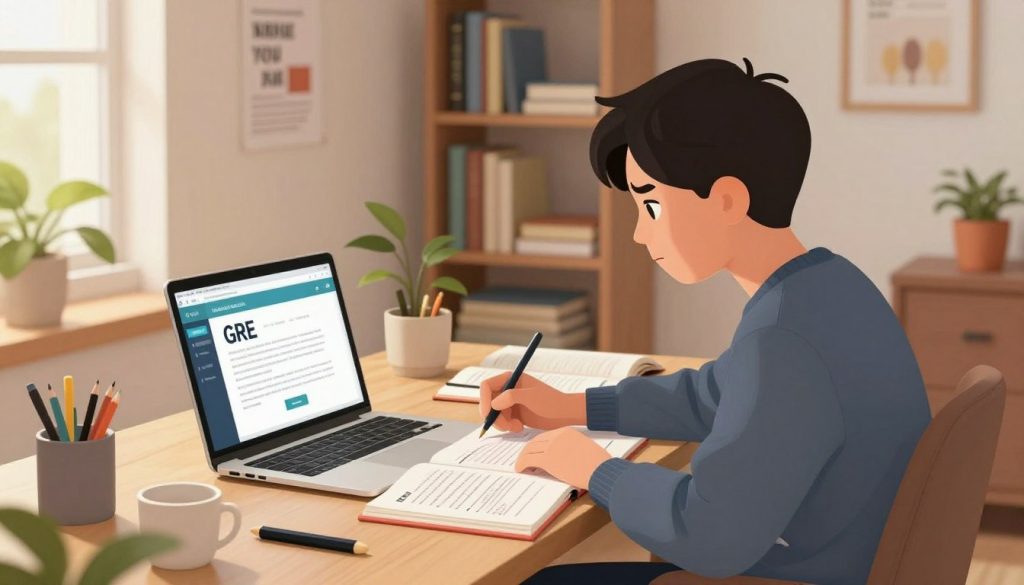
What is the difference between taking the GRE exam at home and scheduling an appointment at a test center?
At a traditional test center, staff handle all aspects of equipment and room setup; however, if you choose to take the GRE at home, you become responsible for managing your own testing environment.
You must ensure a stable internet connection and verify that your hardware meets strict specifications. Unlike at a physical test center, your interaction with the proctor takes place entirely via webcam and microphone—an experience that might feel somewhat impersonal at first.
The part of the exam that usually takes longer than expected on the day of the test
Candidates often underestimate the time required for the initial check-in process. You will need to clearly display your ID document to the camera and undergo a 360-degree scan of the room.
Proctors take security measures very seriously, so please anticipate that the verification stage will take longer than you might expect.
What changes might occur in your emotions before, during, and after the test?
It is completely normal to feel anxious before the online GRE exam. The pressure of having to focus on complex questions while simultaneously managing your electronic devices can be overwhelming.
During the exam, concerns about background noise or potential distractions might make it difficult to concentrate. However, once the final section is submitted, most test-takers feel a sense of relief and accomplishment.
Remember, staying calm is your greatest asset. If you feel overwhelmed, take a deep breath and refocus on the task at hand.
Before scheduling the GRE at-home test
Success on the GRE exam does not happen overnight; it begins well before you even log into the testing platform. Taking the time to prepare your testing environment and verify your personal information will significantly reduce stress on exam day. Many test-takers find that careful planning is the most effective way to ensure a smooth experience with the GRE at-home exam.
Verify eligibility, location, and available appointment times.
Before scheduling your exam, please verify whether your region supports remote testing. Although most areas accommodate this format, local regulations may sometimes affect availability. You should browse the official exam scheduling platform to see which time slots align with your most productive hours. Be sure to carefully consider your time zone when selecting an exam time.
Understand identification and registration requirements.
To avoid delays or the cancellation of your application, you must meet strict identity verification requirements. You are required to provide a valid, government-issued photo ID, and the name on the document must match the name used during registration. Please ensure your ID is not expired and clearly displays both your signature and photograph.
Please carefully verify the accuracy of your registration information before finalizing your booking. Any discrepancies between your ID and account details could lead to serious issues during check-in. Having the necessary documents ready in advance is an effective way to ensure a smooth booking process.
Ensure your computer and testing location meet ETS standards.
Your hardware must be compatible with the proctoring software to proceed with the exam. Please verify that your operating system, browser, and network connection meet the minimum requirements specified by the testing organization. A stable, high-speed internet connection is essential to ensure a reliable connection throughout the exam.
Your testing room must be private and free from interruptions. Please ensure your desk is clear of prohibited items and that the room is well-lit so the proctor can see you clearly. If you have any questions regarding the room setup, please refer to the technical checklist on the Testhelper website.
Why it is important to take a mock exam before selecting an exam date
We strongly recommend conducting a full simulation test of your equipment. This helps you identify potential technical glitches or environmental issues before they escalate into serious problems. It also allows you to test your camera, microphone, and speakers from the exact location where you plan to sit.
Addressing these factors early on allows you to build the confidence needed to perform at your best. Thorough preparation is the foundation of success, and taking these steps ensures you are ready for future challenges.
Equipment and exam venue arrangements designed to prevent issues on the day of the exam.
An organized workspace is essential for meeting the strict requirements of the at-home GRE exam. Preparing your testing environment in advance can significantly reduce the risk of technical issues during the test.
Computer, Operating System, and Browser Requirements
Your computer must meet specific requirements to run the proctoring software smoothly. Whether you are using a Windows PC or a Mac, ensure that your operating system is fully updated.
The testing platform requires you to install a designated secure browser before scheduling your appointment. Please verify compatibility in advance to avoid potential software conflicts.
Camera, microphone, speaker, and network connection check
Reliable hardware is a key requirement for the GRE exam. Your webcam must clearly capture your face and workspace, while your microphone needs to be sensitive enough to pick up your voice without background interference.
A stable internet connection is essential for maintaining the live proctoring session. We recommend using a wired Ethernet connection whenever possible, as Wi-Fi connections can become unstable during extended use.
Considerations regarding the placement of tables, chairs, lighting, and screens.
Your exam setup should be ergonomic and professional. Ensure your desk is tidy and your chair provides adequate support throughout the exam.
Lighting is also crucial for identity verification. Position the light source in front of you rather than behind you; backlighting can obscure your face and cause issues with the proctoring software.
Remove prohibited items and prepare the testing area.
The proctor will thoroughly inspect your room before the exam begins. To ensure a secure testing environment, you must clear your desk of all books, notes, and electronic devices.
Please ensure that any wall decorations or posters are uncluttered; if they contain text, they must be removed. A clean, minimalist space helps the proctor verify the absence of any unauthorized items.
What should you do if you share a home with others?
If you live with others, clear communication is the best strategy. Inform your roommates of your exam schedule to avoid unexpected interruptions or noise during the test.
If you find it challenging to prepare for the GRE at home, you can visit the Testhelper website for assistance. Their team offers professional guidance to help you meet all the necessary requirements for the at-home GRE exam, ensuring a smooth and stress-free experience on test day.
Check-in and identity verification on the day
Success on exam day begins long before you see the first question on the screen. The GRE check-in process is mandatory and is designed to ensure the fairness of the exam.
When does check-in begin?
You should log in to the exam portal exactly 30 minutes before your scheduled exam time. Logging in early gives you ample time to resolve any minor software issues without feeling rushed. Punctuality is crucial, as arriving late may result in the forfeiture of your exam fee.
Upload identity documents and take the required photos.
The system will prompt you to present a valid, government-issued photo ID. Please ensure that the name on the document matches your registration information exactly. You will also need to take a clear photo of yourself so the system can verify that your identity information matches official records.
Show the room and desk to the proctor.
After your identity has been verified, you must connect online with the GRE proctor. The proctor will ask you to use your webcam to perform a 360-degree panoramic scan of the room. You must also show your desk and the area beneath it to demonstrate that there are no prohibited items.
How proctors convey instructions before the exam begins
Proctors will provide specific instructions via the secure exam software. They will typically use the chat box or a voice connection to guide you through the final security checks. Please listen carefully to their instructions, as they have the authority to pause or cancel your exam if you violate the rules.
Security checks and rules often overlooked by candidates
Many test-takers overlook the specific rules for taking the GRE at home, which can lead to unnecessary stress on test day. Maintaining a secure testing environment is crucial for ensuring the validity of the test scores.
Clothing, jewelry, watches, and personal items
The proctor needs to have a clear view of your body to prevent unauthorized assistance. You must remove all heavy clothing such as hoodies or jackets, and please do not wear jewelry or watches during the exam. Keeping ears visible is also a standard requirement to ensure there are no hidden communication devices.
Materials Permitted and Prohibited During the GRE Exam
Only specific items are permitted on your desk during the exam. Typically, you may use a small whiteboard or a limited amount of paper for rough work, in accordance with current regulations. All other personal items—including mobile phones, tablets, and study notes—must be securely stored away from your testing area.
Why leaving the camera’s field of view or speaking aloud raises concerns
Proctors must continuously monitor your behavior throughout the exam. Moving out of the camera’s view or speaking aloud can immediately trigger an investigation, as these actions are often associated with potential academic misconduct. To avoid any negative records, it is crucial to remain seated and quiet.
How proctoring software monitors the exam environment
Advanced software tracks your eye movements and background noise to ensure the integrity of the GRE security protocols. The system flags any suspicious activity, such as multiple people entering the room or unauthorized software running in the background. Understanding these automated triggers allows you to focus on the test without worrying about technical issues.

Starting the GRE Exam and Familiarizing Yourself with the Interface
Accessing the online testing software marks the official start of your assessment journey. Once the proctor verifies your identity and testing environment, the screen will switch to the official GRE interface. This digital platform is designed to simulate the experience of a physical test center as closely as possible.
What Appears on Screen Before the First Scored Section
Before the actual exam begins, you will see a series of introductory pages. These pages provide crucial information regarding the exam structure and the rules you must follow. Be sure to read these instructions carefully to understand the timing and format of the upcoming modules.
The system will also prompt you to confirm that you understand the exam rules. Once these preparatory steps are complete, the system will load the first section of the exam. Taking a deep breath at this moment can help you stay calm before the timer starts.
Using On-Screen Tools, Navigation Buttons, and Review Features
The software includes built-in tools to assist you during the assessment. You will find navigation buttons that allow you to move between questions within the same section. Mastering these operations early on is essential for efficient time management.
- Review Screen: Use this screen to view questions you have answered and those left blank.
- Marking Tool: Flag difficult questions so you can return to them later if time permits.
- Calculator: Use the on-screen calculator for quantitative analysis when necessary.
- Managing the Analytical Writing, Verbal Reasoning, and Quantitative Reasoning Sections
The exam begins with the Analytical Writing section, requiring you to compose essays directly into a text box. You must pay attention to word count and clearly organize your arguments within the allotted time. Afterward, you will complete the Verbal Reasoning and Quantitative Reasoning modules in sequence.
Each section comes with specific instructions and time limits. If you need further guidance on completing these modules, resources like Testhelper can offer valuable insights. Thorough preparation ensures that the interface mechanics won’t catch you off guard during the Analytical Writing section or the subsequent parts of the exam.
Why the Opening Minutes May Still Feel Unfamiliar Despite Practice
Even if you have completed multiple practice tests, the actual exam day can feel quite different. The pressure of the real testing environment often makes the GRE interface seem more daunting than the simulations you took at home. This is a common reaction that most test-takers experience during the first few minutes of the exam.
Your brain needs a moment to adjust to the high-stakes reality of the actual test. Do not panic if you feel a bit hesitant at the start. Once you have answered the first few questions, muscle memory kicks in, and your focus naturally sharpens.
Timing, Breaks, and Pacing Throughout the Exam
Effective time management remains key to achieving a high score on the GRE. Test-takers often find that the timing structure dictates their overall strategy. By understanding how to allocate your time, you can maintain a steady pace throughout the exam.
How Section Timers Influence Your Decisions
Each section of the exam features an on-screen timer showing the time remaining. This visual cue helps you decide when to move on, preventing you from getting stuck on a complex question. Prioritizing easier questions is an effective strategy to ensure you secure points before time runs out.
Allocating Time for Reading, Calculating, and Reviewing Answers
You should set aside time at the end of each section for a final review. This allows you to double-check the logic of quantitative problems or re-read complex passages. Resources on Testhelper can help you create a sensible schedule that ensures sufficient time for review.
What You Can Do During Scheduled Breaks
After the third section, you will have a scheduled break. This ten-minute break is a great opportunity to stretch, hydrate, and relax. Making effective use of this time is crucial to ensure you return to your seat refreshed and ready for the next part of the exam.
Leaving Your Seat Without Violating Test Day Rules
You may leave your seat during the break, but you must strictly adhere to the regulations. You are not permitted to use your phone, access study materials, or leave the testing center without the proctor’s permission. Be sure to return to your seat before the timer restarts to avoid disqualification.
How to Recover When a Question Takes Too Long
It is normal to encounter questions that seem unsolvable. If you find yourself spending more than two minutes on a single question, it is time to make a strategic choice. Follow these steps to maintain a clear mindset:
- If the interface allows, mark the question for review.
- Make an educated guess so you don’t miss out on points from easier questions later on.
- Take a deep breath and refocus before starting the next task.
Commonly Misunderstood GRE Exam Rules
Understanding the nuances of GRE exam rules is crucial for a smooth, stress-free testing experience. Many test-takers focus entirely on academic preparation, only to find that procedural errors on exam day cause unnecessary anxiety.
Using Permitted Note-Taking Materials
You may only use designated note-taking materials during the exam. The use of standard notebooks, loose-leaf paper, or tablets not explicitly authorized by the testing agency is strictly prohibited.
Always verify the list of currently permitted items before starting.
Using Scratch Paper, Whiteboards, and Other Approved Alternatives
There is often confusion regarding the use of approved scratch paper or physical whiteboards. You must ensure your writing surface is completely blank before the proctor begins the check-in process.
If you choose to use a whiteboard, it must be erasable and remain clearly visible to the camera at all times. Using unapproved materials may result in an immediate investigation or even the cancellation of your exam.
Eating and Taking Medication During the Exam
Generally, eating and drinking are not permitted during the test. You should consume necessary food and water during the scheduled break.
If you need to take medication for medical reasons, you must inform the proctor during check-in. Keeping such items within reach without prior approval violates security regulations.
Communicating with the Proctor for Clarification
If you encounter technical issues or have questions, use the designated chat function or speak clearly into your microphone. Do not stand up or leave your seat to get the proctor’s attention, as this is typically considered a security violation.
Keep communication concise and professional. Proctors can answer procedural questions but cannot assist with the specific content of exam questions.
Why Ordinary Actions or Background Noise Can Raise Flags
Proctoring software is highly sensitive to environmental changes. Even minor actions—such as whispering to yourself or looking away from the screen for an extended period—can trigger an automated alert.
Try to remain still and ensure your testing environment is quiet and free of noise. Keeping your eyes on the screen throughout the exam helps the proctor confirm that you are complying with all established GRE rules.
Technical Issues, Interruptions, and Communicating with Proctors
Even with thorough preparation, unexpected technical issues can arise on the day of the GRE exam and disrupt the testing process. While such moments can be stressful, remaining calm ensures you can resolve issues efficiently. Your primary goal throughout the process is to stay focused.
What to Check When the Connection Is Unstable
Do not panic if you experience lag or connection instability. First, check that your router is functioning correctly and ensure no other devices in your home are consuming excessive bandwidth. Quickly closing background applications can often stabilize the connection without needing to restart the entire session.
How to Respond If a Proctor Pauses or Restarts the Exam
Occasionally, a GRE proctor may need to pause your exam to investigate potential security issues or system errors. If this happens, strictly follow the proctor’s instructions and remain seated unless told otherwise. Once the issue is resolved, the proctor will guide you through the necessary steps to resume the exam.
Handling Software, Camera, or Microphone Malfunctions
Hardware malfunctions can occur even after pre-exam checks. If your camera or microphone stops working, immediately notify the proctor using the chat function (if available). If the software crashes completely, try restarting the application before seeking external assistance.
What Evidence to Keep After a Major Interruption
If a significant interruption occurs, be sure to document the incident. Record the following details for future reference:
- The exact time the malfunction occurred.
- Any error codes displayed on the screen.
- The name or ID of the proctor you communicated with.
- A brief description of the steps you took to resolve the issue.
- When to Contact ETS
If you are unable to continue the exam, or if a technical failure prevents you from completing a section, you must report the incident. Contact ETS directly to discuss options for rescheduling the exam or addressing score reporting.
How to Stay Focused in a Monitored Home Environment
Taking an exam in a familiar setting presents unique challenges for maintaining focus, requiring proactive strategies. Many test-takers find that the comfort of home can actually lead to distractions. Therefore, mastering effective GRE test-taking techniques is crucial to ensure you remain fully engaged with the exam content throughout the entire process.
Minimize Distractions Before the Check-in Process
Thorough preparation is the best defense against external distractions. Before beginning the check-in procedure, ensure that everyone in your household is aware of your testing schedule. Clear communication helps prevent unexpected knocks or loud noises that could disrupt your exam session.
You should also clear your desk of any non-essential items that might divert your attention. A tidy, uncluttered workspace helps you concentrate and keeps your focus strictly on the screen.
Use breathing and pacing techniques to avoid wasting time during the exam.
It is natural to feel a surge of pressure when the clock starts ticking. To manage this, use short, controlled breathing exercises during the transition between sections. These micro-breaks allow you to reset your mental state without sacrificing valuable seconds.
Pacing is equally important for maintaining steady performance. If you find yourself stuck on a difficult question, take a deep breath and move on to the next one. Returning to a challenging problem with a fresh perspective is often more efficient than forcing an answer under stress.
Maintaining concentration when the proctor is visible or communicates
The presence of a proctor via webcam can feel intrusive, but it is a standard part of the process. Try to view the proctor as a neutral observer rather than an active distraction. Maintaining your gaze on the screen will help you ignore the camera and stay immersed in the test interface.
If the proctor needs to communicate with you, remain calm and follow their instructions precisely. A brief pause to address a technical query will not ruin your momentum if you return to your work with a focused mindset. Remember that they are there to ensure the integrity of the exam for everyone.
Handling anxiety caused by unfamiliar software and security procedures
Technical hurdles and strict security protocols can sometimes trigger gre test anxiety. You can mitigate this by familiarising yourself with the testing software well in advance. Knowing exactly what to expect from the interface reduces the fear of the unknown.
- Practice with the official testing tools to build muscle memory.
- Keep your identification documents ready to avoid last-minute panic.
- Use positive self-talk to stay grounded if you feel overwhelmed.
If you still feel uneasy, remember that these procedures are designed to protect your results. Focusing on the task at hand is the most effective way to overcome nerves.
What happens when the GRE ends
Finishing your exam is a significant milestone, yet understanding the post-test protocol is vital for your peace of mind. Once you have navigated the final section, you will be prompted to review your performance before leaving the testing environment.
Reviewing unofficial score information on screen
Immediately after you submit your final response, you will have the opportunity to view your gre unofficial scores for the Verbal Reasoning and Quantitative Reasoning sections. It is important to remain calm during this moment, as these figures provide an early indication of your performance.
Please note that these results are preliminary and do not include the Analytical Writing score. You must decide at this stage whether to report or cancel your scores, a choice that requires careful consideration of your university application goals.
Completing the final submission and ending the proctoring session
After making your selection regarding score reporting, you must follow the on-screen prompts to finalise your submission. Ensure that you do not close your browser or disconnect your internet until the system confirms that your data has been successfully uploaded.
Once the submission is complete, you should signal to the proctor that you are finished. They will provide instructions on how to properly exit the software and end the remote session, ensuring that your gre score reporting process remains secure and compliant with testing standards.
Collecting confirmation details and reporting any irregularities
Before you leave your desk, verify that you have received a confirmation of your test completion. If you experienced any technical issues or disruptions during the exam, you must report these to the proctor immediately.
- Document the exact time and nature of any technical interruptions.
- Request a case number if you need to file a formal complaint later.
- Keep a record of your registration details for your personal files.
Understanding score reporting, cancellations and next steps
If you choose to cancel your scores, be aware that this action is permanent and cannot be reversed. Candidates often find it helpful to research the truth about hiring someone to take online proctored scenarios to understand why maintaining integrity is essential for your academic future.
For those seeking further guidance on navigating the complexities of gre score reporting, the team at Testhelper offers valuable insights. They provide resources to help you understand your options, whether you are planning to retake the test or move forward with your university applications.
Conclusion
Achieving your target score requires more than just academic preparation. The gre test at home experience demands a high level of logistical precision and mental readiness to ensure your performance remains unaffected by your surroundings.
Successful candidates treat their environment as a critical component of their strategy. By focusing on equipment stability and clear communication with proctors, you minimise the risk of unexpected interruptions during your assessment.
Applying these gre exam day tips helps you maintain focus when the pressure mounts. Preparation acts as a buffer against technical glitches and environmental distractions that often catch unprepared students off guard.
Reliable support remains vital as you finalise your arrangements. You can find additional resources and expert guidance at Testhelper by visiting https://www.testhelper.org/ to refine your approach before your scheduled appointment.
Your commitment to a structured setup will pay dividends when you sit down to begin your exam. Stay calm, follow the established protocols, and trust in the thorough planning you have completed to reach your academic goals.
FAQ
How does the GRE test at home experience differ from a traditional test-centre appointment?
While the exam content for Analytical Writing, Verbal Reasoning, and Quantitative Reasoning remains identical, the at-home GRE requires you to provide your own testing equipment and a secure, private environment. Unlike a centre where staff manage the setup, you are responsible for system requirements, such as installing the ETS Secure Test Browser and ensuring a stable internet connection. Remote monitoring is conducted by a live proctor via ProctorU, who will oversee your session through a webcam to maintain strict academic integrity.
What specific equipment is required to meet ETS standards for home testing?
Candidates must use a desktop or laptop computer with an authorised operating system (Windows or macOS). A moveable webcam is essential to allow the proctor to view the entire room, and you must use internal or external speakers and a microphone rather than a headset.
Why does the check-in process often take longer than expected?
The check-in process involves several security layers, including identity verification with a valid photo ID and a comprehensive 360-degree scan of your testing environment. The proctor must ensure no prohibited items, such as smartwatches or unauthorised books, are within reach. This meticulous security screening can take 20 minutes or more, so it is vital to remain patient and follow all proctor instructions to avoid added emotional pressure.
Can I use standard scratch paper for notes during the Quantitative Reasoning section?
No, the use of regular paper is strictly forbidden during the online GRE. You must use a small desktop whiteboard with an erasable marker or a single sheet of paper inside a transparent sheet protector that can be erased in front of the proctor. Following these note-taking rules is crucial; failing to do so could result in the cancellation of your test session.
What should I do if I encounter a technical failure or a lost internet connection?
If your internet connection becomes unstable, the ETS Secure Test Browser may pause. You should attempt to reconnect and immediately communicate with the proctor via the chat function. If a severe software malfunction prevents you from completing the exam, document the incident and contact ETS for assistance with rescheduling. Be sure to keep a record of any troubleshooting steps taken during the exam.
Are there specific rules regarding breaks and leaving the camera’s field of view?
Yes, a scheduled break is provided during the GRE General Test. You may leave your seat during this time but must return promptly. At all other times, you must remain within the camera’s field of view. Leaving the screen or talking to yourself may be flagged as suspicious activity by the monitoring software and could result in a formal review of your exam.
When will my unofficial scores be available after the exam?
After completing the final section, you will have the option to submit or cancel your scores. If you choose to submit them, you can view your unofficial Verbal Reasoning and Quantitative Reasoning scores on the screen. Your official score report—which includes your Analytical Writing score and is sent to graduate school admissions offices—will typically appear in your ETS account within 10 to 15 days.